Making beautiful interactive slides with revealJS

Today I’ll show you how to spice up your presentations with revealJS in R. This is an HTML presentation framework that allows you to share your slides on the web, add custom animations, embed websites into your slides, and more! Here’s an example of a presentation I made for my 2020 Spring Committee Meeting:
This presentation was a lot of fun to make! Here I’ll show you the basics, then I’ll give examples of more advanced stuff you can do.
First, we need to get set up to use revealjs in R. Open RStudio and run the following in your console:
install.packages("revealjs", type = "source")
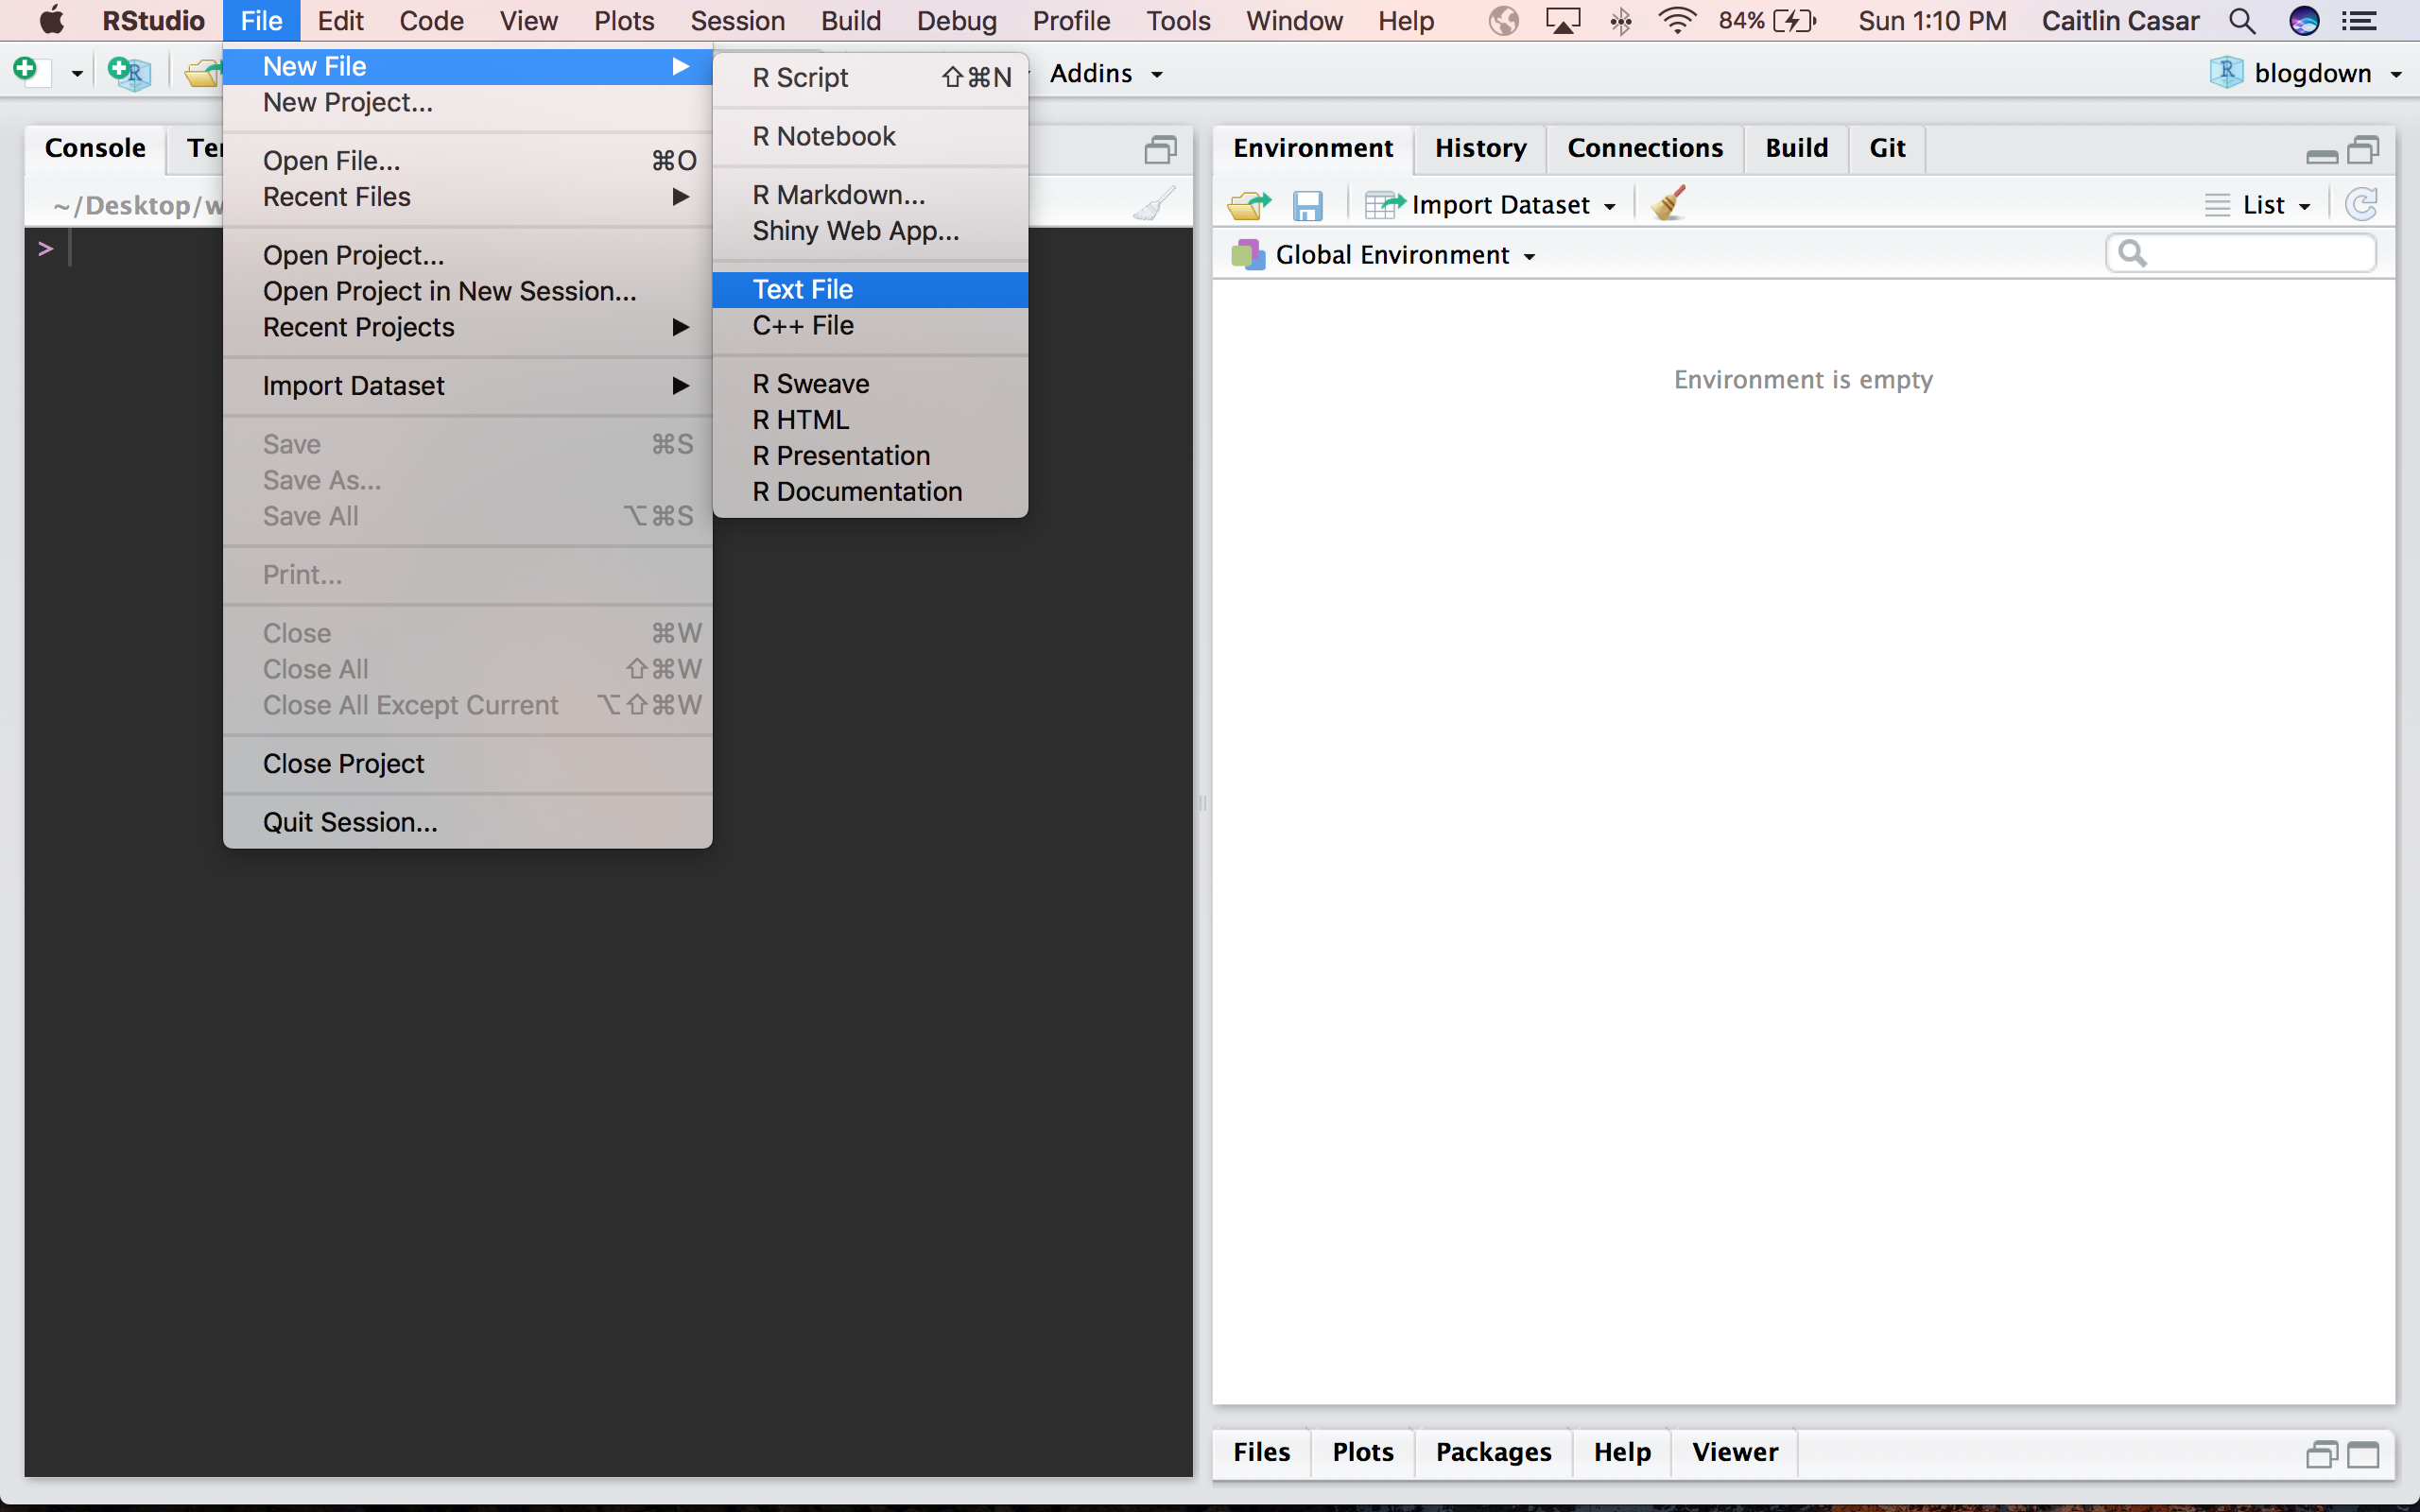
Next, open up a new R markdown document.
Select the HTML output in the pop-up window and give your document a title.
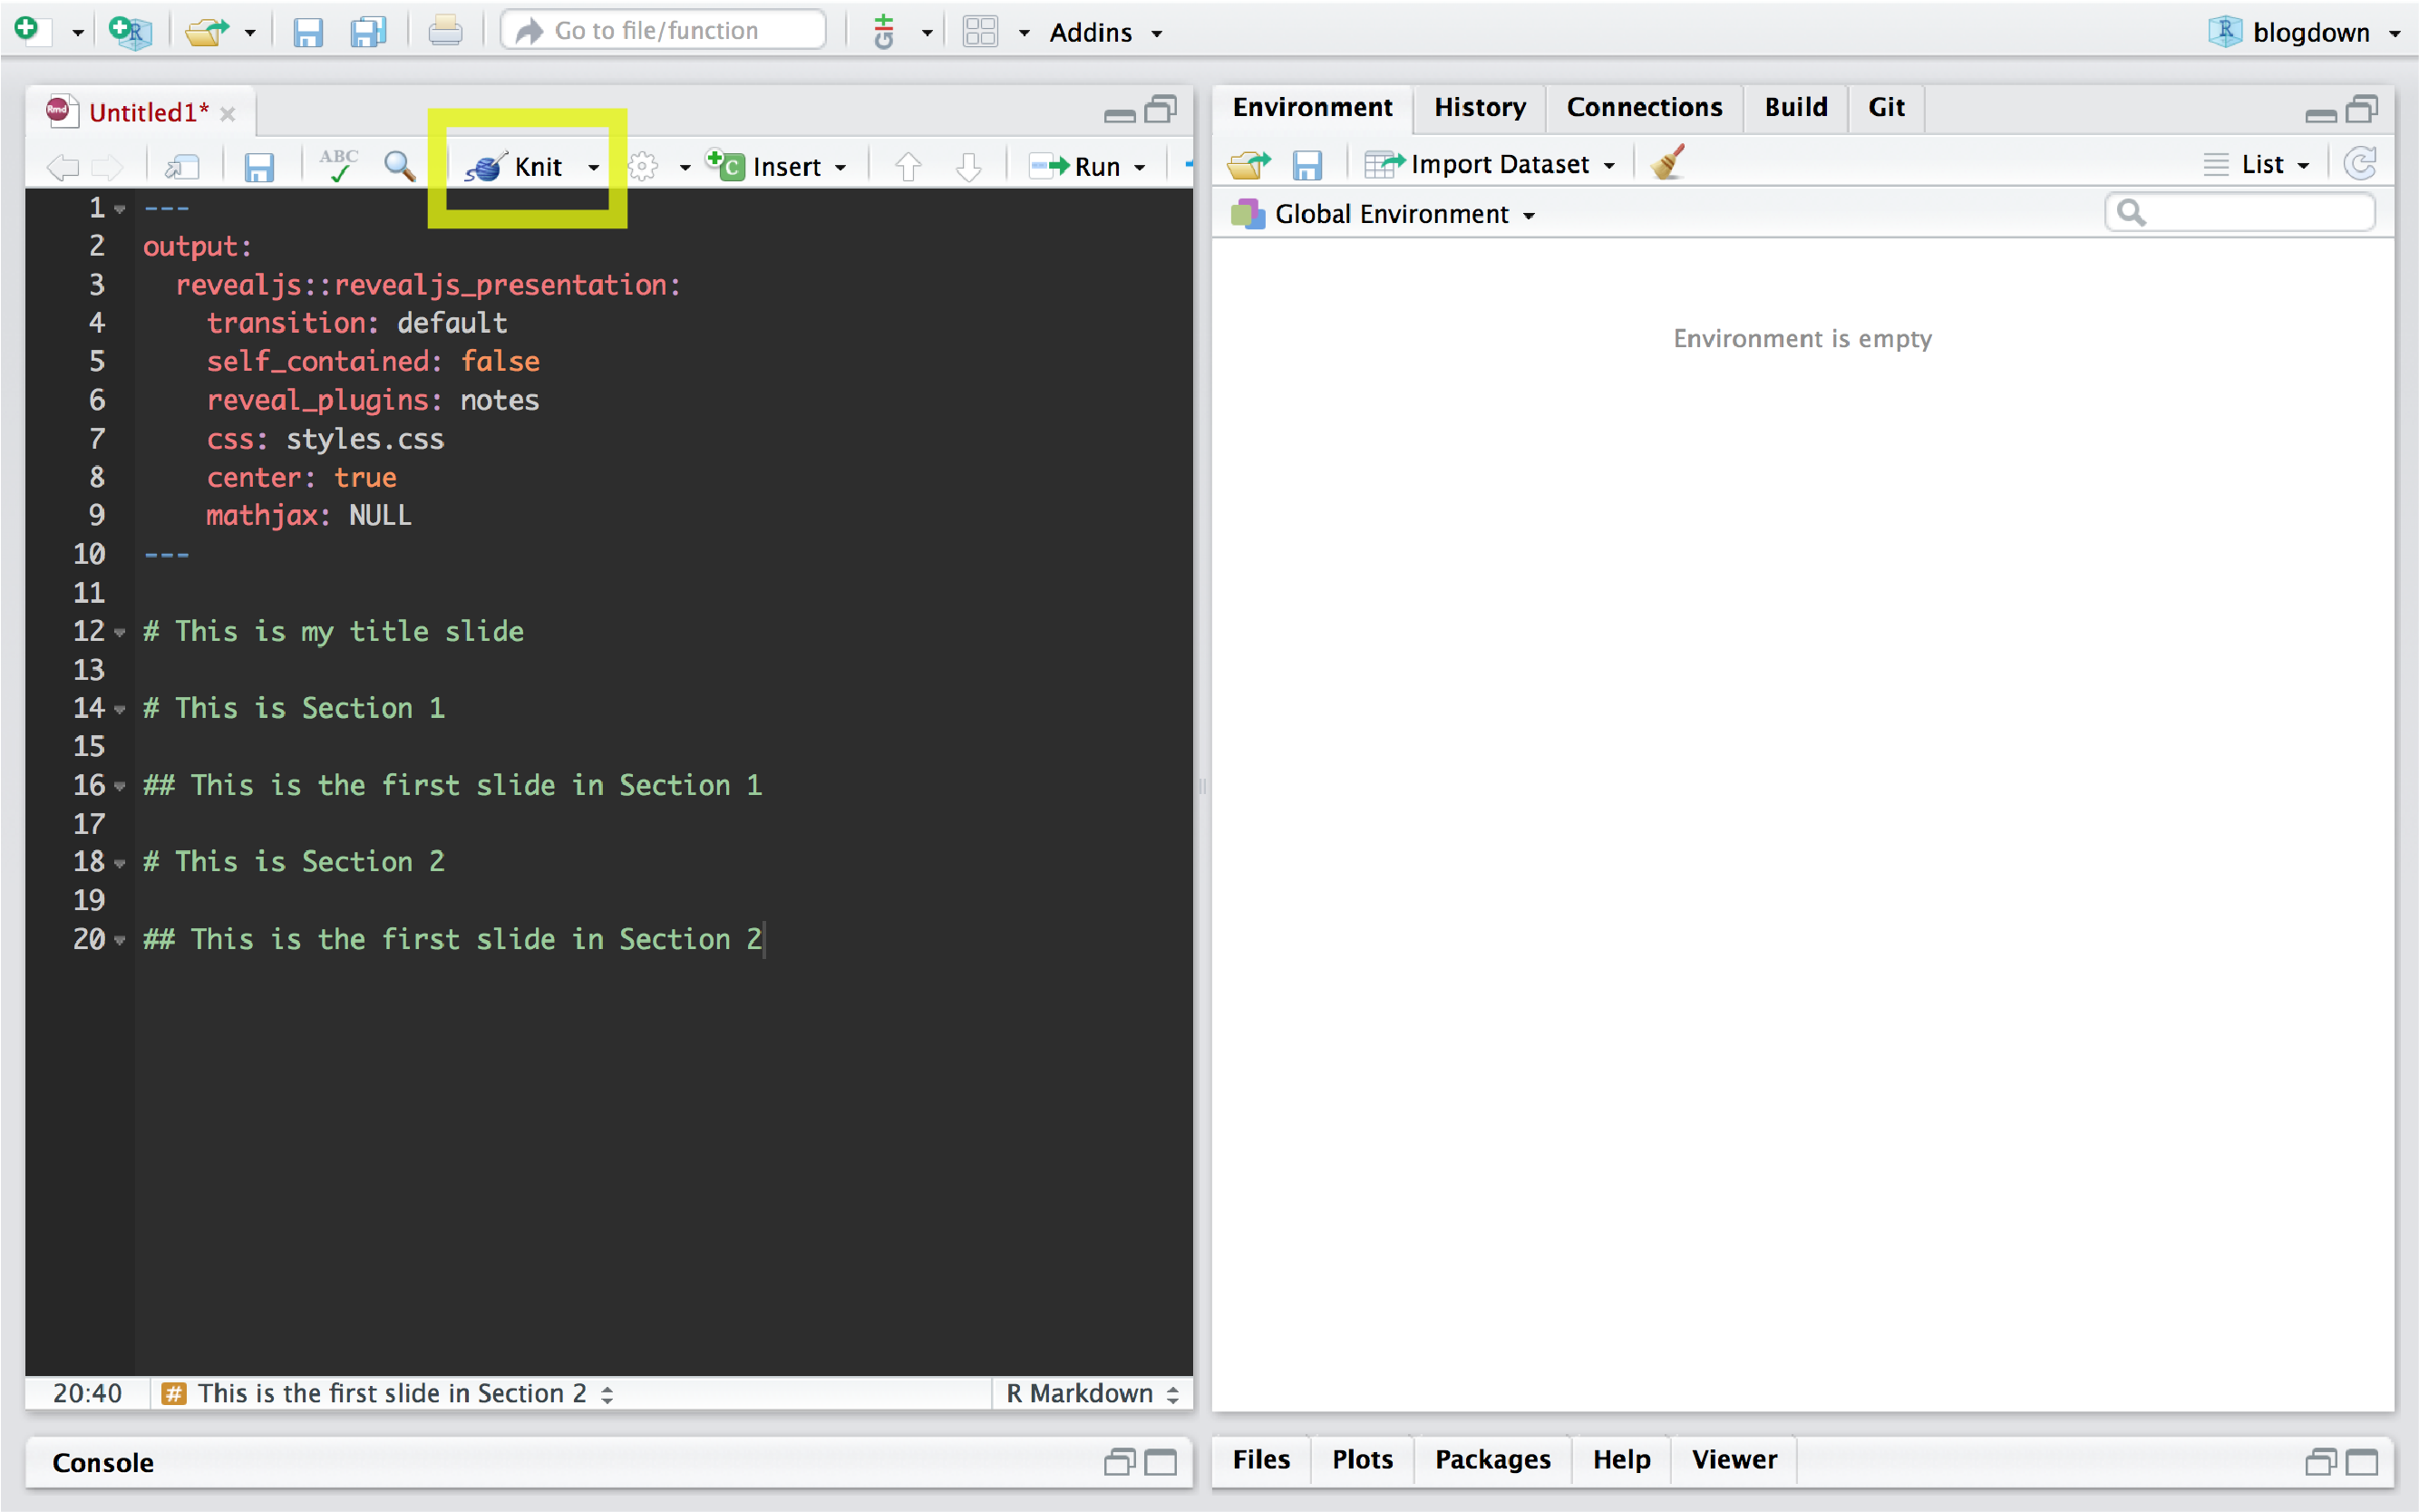
Then modify your header content. To make my slides in the example above, I used this header:
---
output:
  revealjs::revealjs_presentation:
    transition: default
    self_contained: false
    reveal_plugins: notes
    css: styles.css
    center: true
    mathjax: NULL
---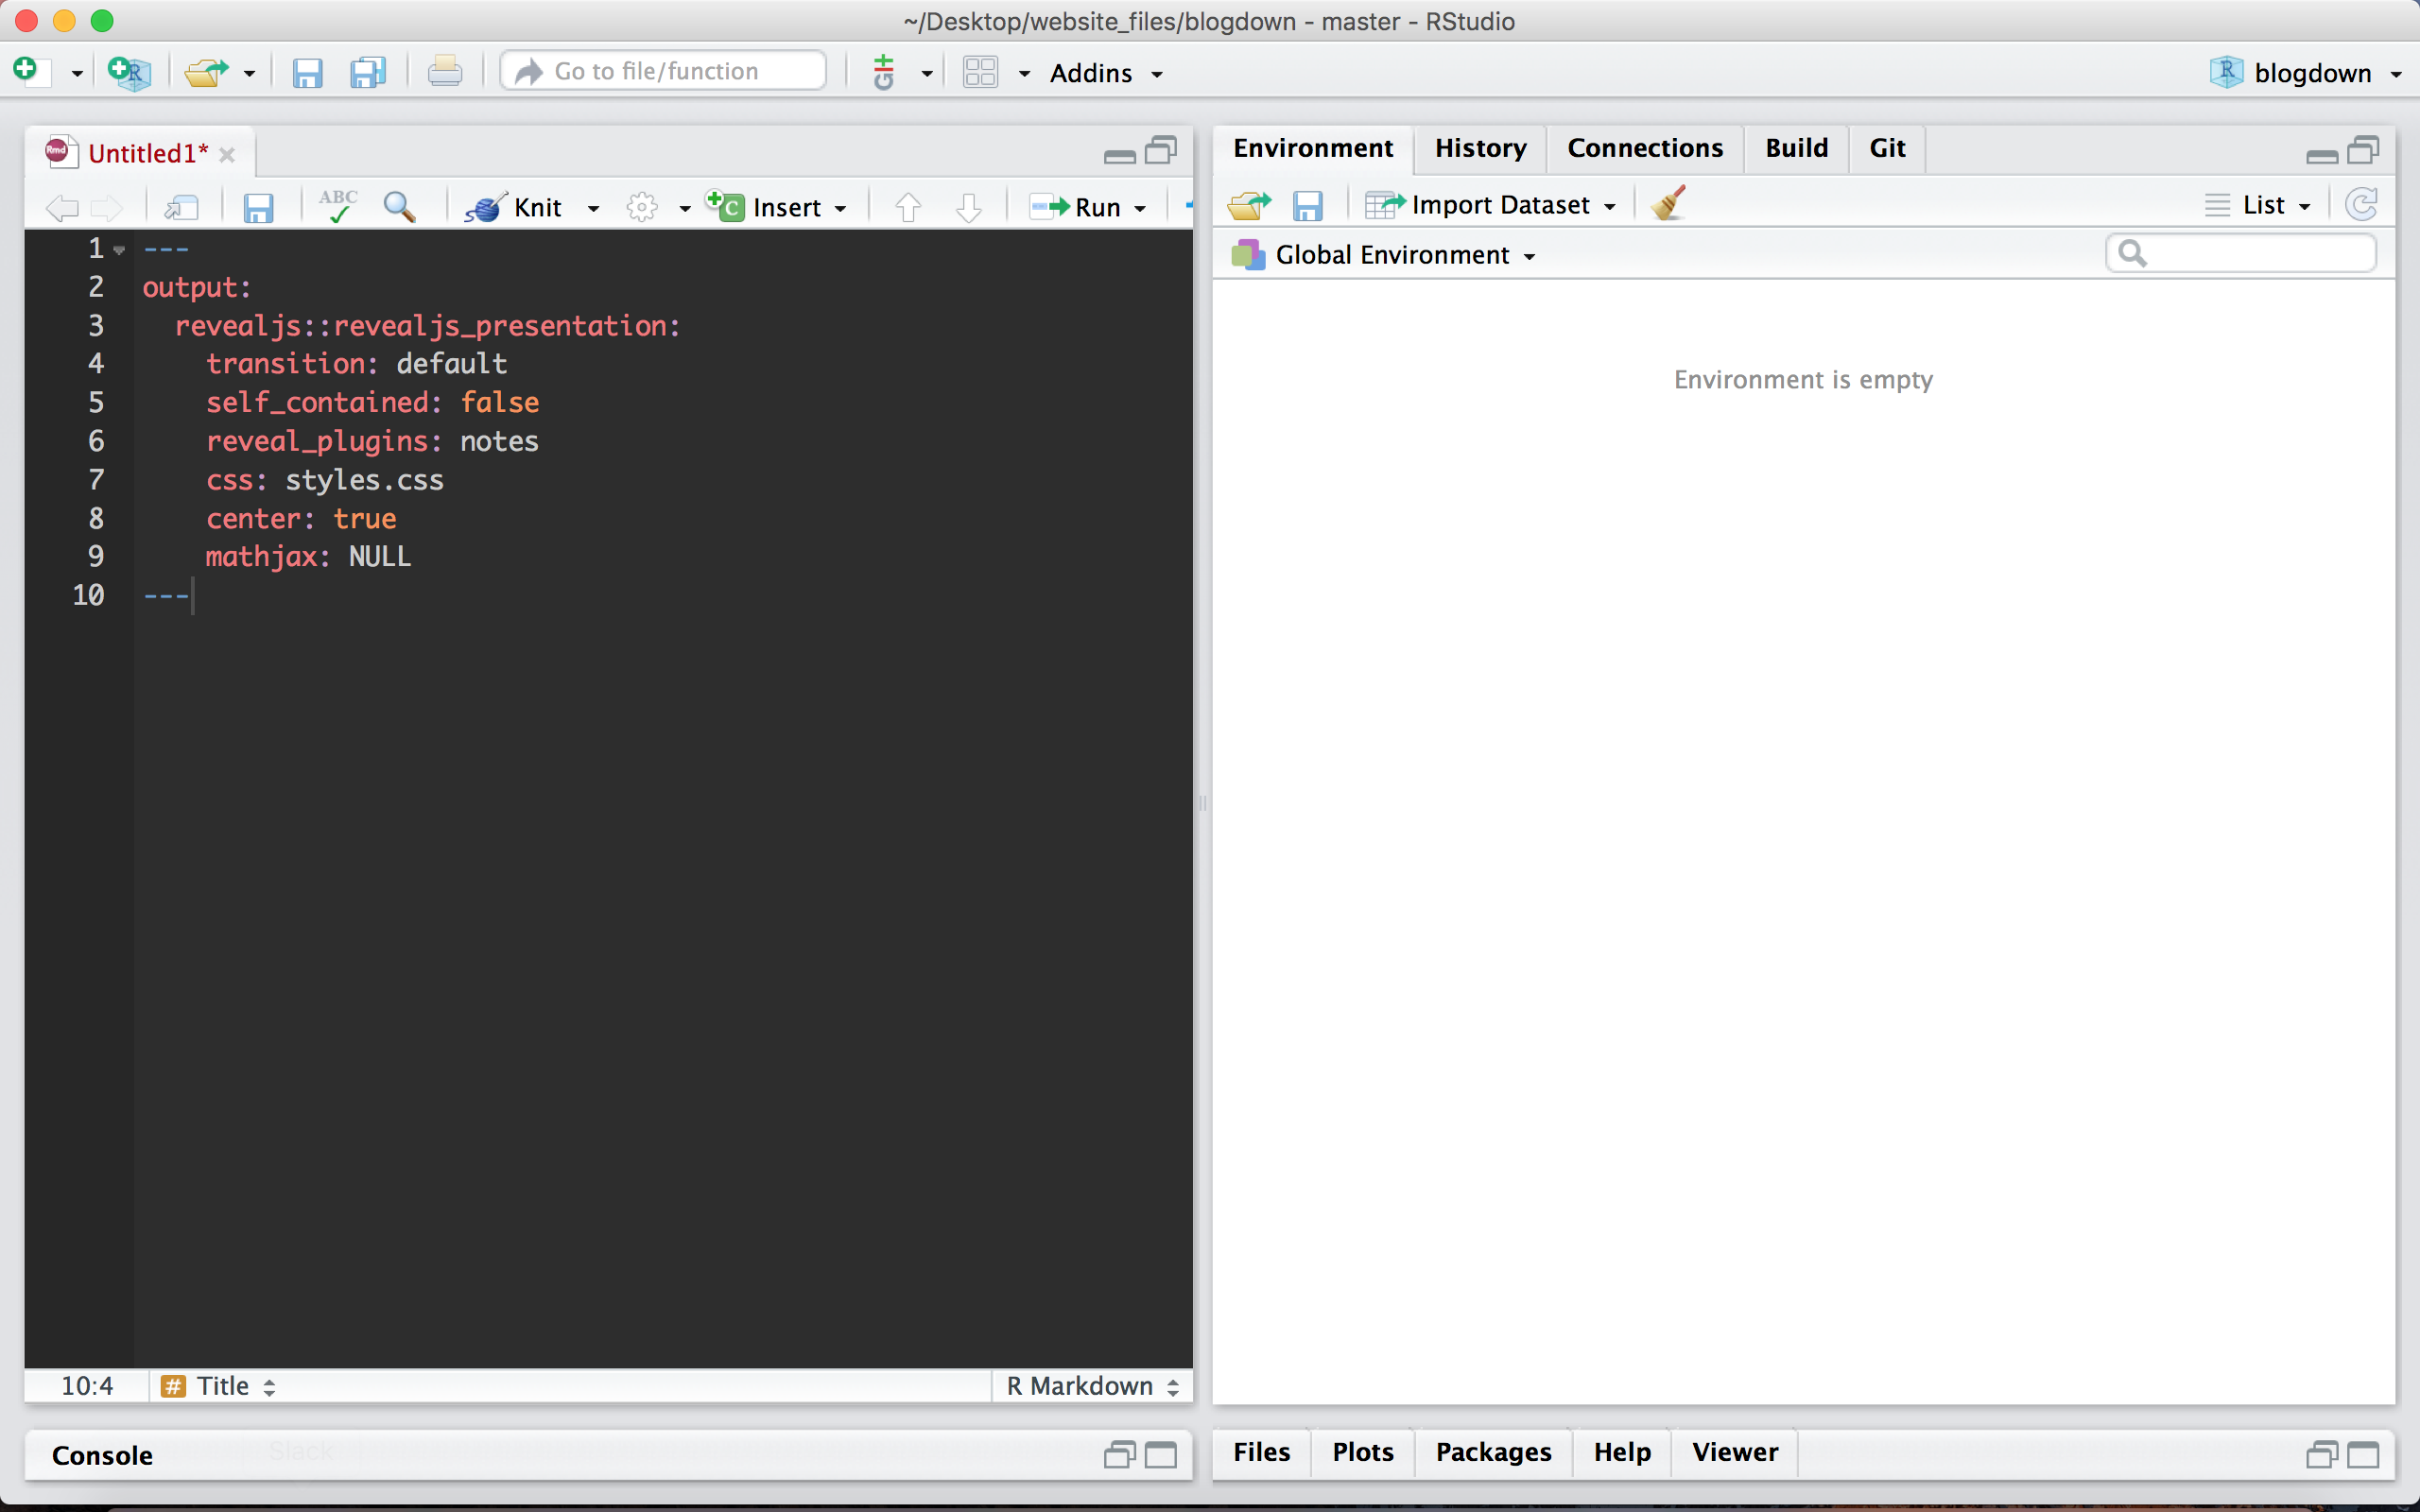
Here’s a breakdown of those parameters:
Output indicates that you want a revealjs output.
Transition sets your slide transitions. You can choose from “default”, “fade”, “slide”, “convex”, “concave”, “zoom” or “none”.
Self contained determines whether dependencies are external or internal. To use plugins this has to be set to false.
Reveal plugins enable plugins including notes, zoom, search, and chalkboard. The notes plugin functions much like presenter mode in Powerpoint.
CSS is your custom styles CSS (cascading style sheet) file. This allows you to add styling to HTML elements, such as font color, add animations, and more.
Center sets all of your slides to center text alignment. You can set the alignment on individual slides as well.
Mathjax enables rendering of LaTeX and MathML equations including special characters like greek symbols. Options include default, local, and NULL.
- Now, lets add some slides!:
---
output:
  revealjs::revealjs_presentation:
    transition: default
    self_contained: false
    reveal_plugins: notes
    css: styles.css
    center: true
    mathjax: NULL
---

# This is my title slide

# This is Section 1

## This is the first slide in Section 1

# This is Section 2

## This is the first slide in Section 2
Once your slides are ready, click the Knit button to build the html output and preview your slides!
The code above produces the following slides:
Let’s add some style to the slides. We can add a background color, background image, or embed an html file as the background! Be aware of potential securtiy issues when embedding an external website - you should only do this if you trust the site! Here, I added different types of backgrounds on each slide, including image, video, html, and color:
---
output:
  revealjs::revealjs_presentation:
    transition: default
    self_contained: false
    reveal_plugins: notes
    css: styles.css
    center: true
    mathjax: NULL
---

# {data-background="https://images.pexels.com/photos/949587/pexels-photo-949587.jpeg?auto=compress&cs=tinysrgb&dpr=2&w=500"}

<h1 style="color: #fff">Caitlin's Presentation</h1>

# {data-background=#262626}

<h1 style="color: #fff">Check out my website</h1>

## {data-background-iframe="https://www.caitlincasar.com"}

# Check out this video I made

##
<iframe width="100%" height="500" src="https://www.youtube.com/embed/FZ66_XqZZhg" frameborder="0" allow="accelerometer; autoplay; encrypted-media; gyroscope; picture-in-picture" allowfullscreen></iframe>

## {data-background-video="AreWeAlone_Corrected.mp4"}
Note: This example doesn’t include the last slide in the example Rmarkdown above due to file size limits on Github where I host my content.
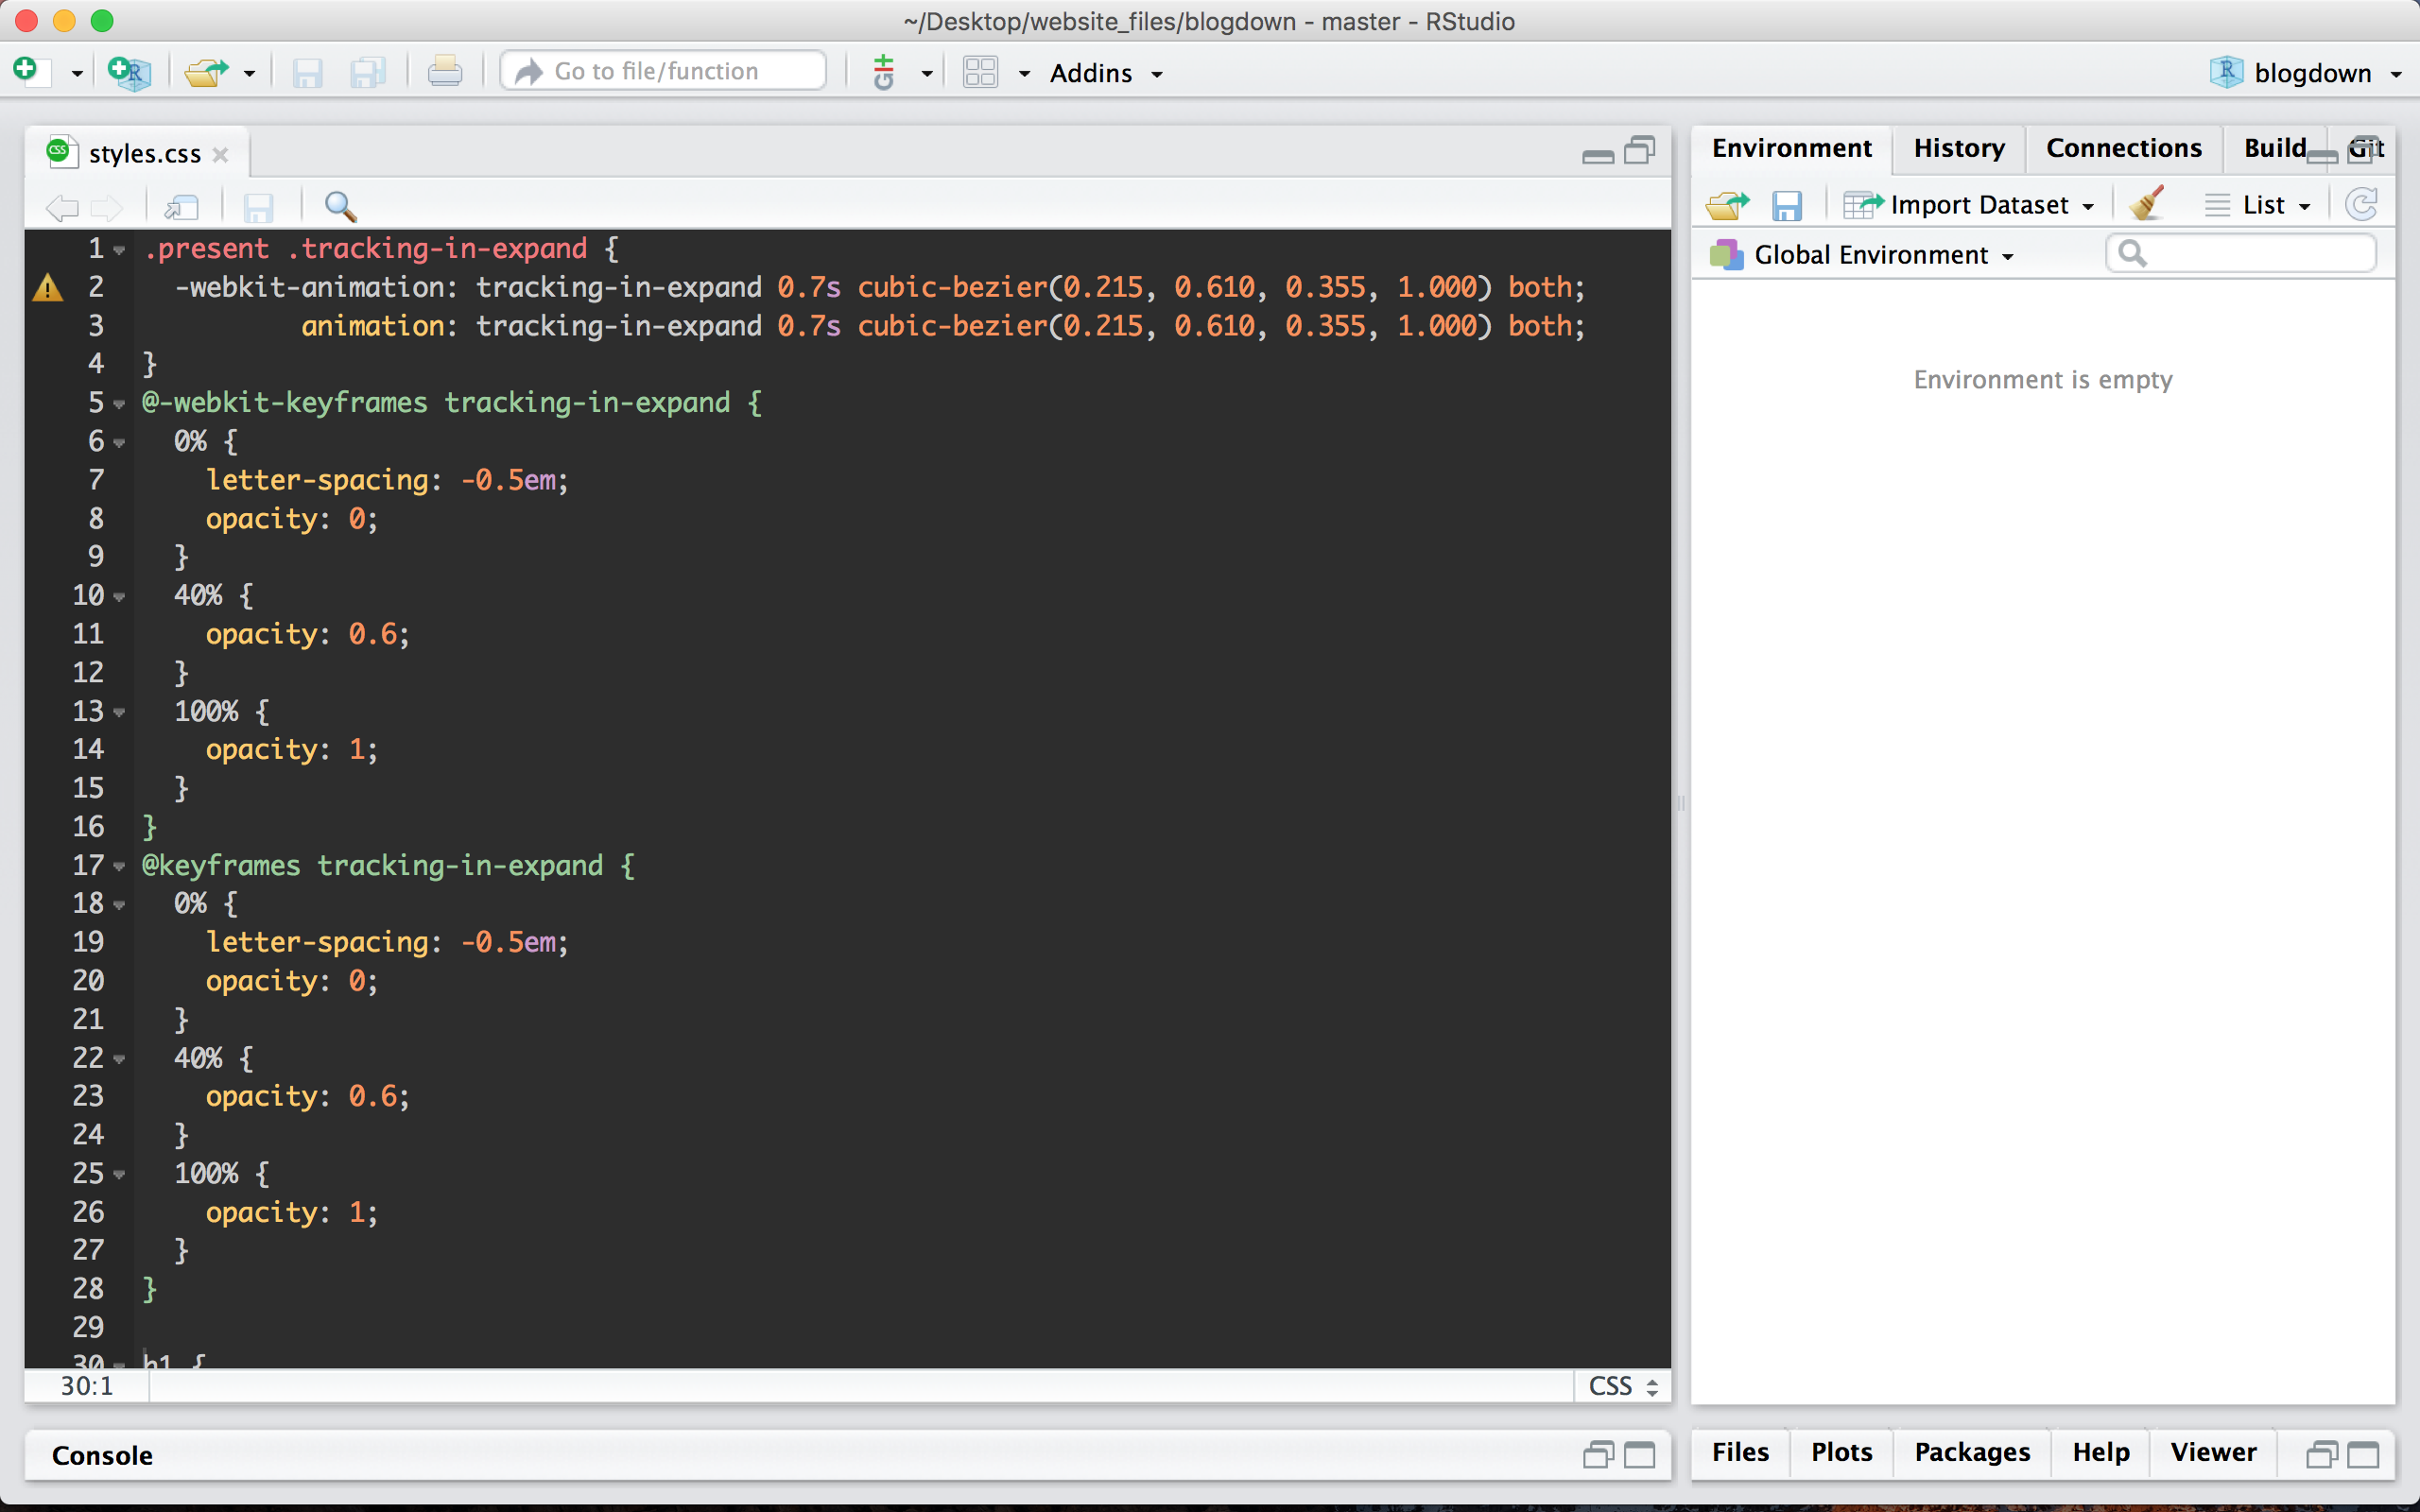
Let’s add some fun styling with CSS! Open a new text file and name it styles.css. Save this in the same directory as your Rmarkdown file.
Add some styling to the h1 element - these are the headers in your slide. Here, I’m changing the font color and adding a cool animation.
.present .tracking-in-expand {
    -webkit-animation: tracking-in-expand 0.7s cubic-bezier(0.215, 0.610, 0.355, 1.000) both;
            animation: tracking-in-expand 0.7s cubic-bezier(0.215, 0.610, 0.355, 1.000) both;
}
@-webkit-keyframes tracking-in-expand {
  0% {
    letter-spacing: -0.5em;
    opacity: 0;
  }
  40% {
    opacity: 0.6;
  }
  100% {
    opacity: 1;
  }
}
@keyframes tracking-in-expand {
  0% {
    letter-spacing: -0.5em;
    opacity: 0;
  }
  40% {
    opacity: 0.6;
  }
  100% {
    opacity: 1;
  }
}

h1 {
    color: #262626;
    -webkit-animation: tracking-in-expand 0.7s cubic-bezier(0.215, 0.610, 0.355, 1.000) infinite both;
            animation: tracking-in-expand 0.7s cubic-bezier(0.215, 0.610, 0.355, 1.000) infinite both;
}
This is the Rmarkdown content I used to produce the slide below:
---
output:
  revealjs::revealjs_presentation:
    transition: default
    self_contained: false
    reveal_plugins: notes
    css: styles.css
    center: true
    mathjax: NULL
---

# {data-background=#262626}

<h1 style="color: #fff">Caitlin's Presentation</h1>
Here’s an example where I used both custom CSS and a custom html header:
@-webkit-keyframes color-change-5x {
  0% {
    color: #19dcea;
  }
  25% {
    color: #b22cff;
  }
  50% {
    color: #ea2222;
  }
  75% {
    color: #f5be10;
  }
  100% {
    color: #3bd80d;
  }
}
@keyframes color-change-5x {
  0% {
    color: #19dcea;
  }
  25% {
    color: #b22cff;
  }
  50% {
    color: #ea2222;
  }
  75% {
    color: #f5be10;
  }
  100% {
    color: #3bd80d;
  }
}


#title h1 {
    font-size: 1.50em;
    color: #ffff00;
    font-family: 'Roboto', sans-serif !important;
        -webkit-animation: color-change-5x 8s linear infinite alternate both;
            animation: color-change-5x 8s linear infinite alternate both;
}

.color-change-5x-background {
    -webkit-animation: color-change-5x-background 2s linear infinite alternate both;
            animation: color-change-5x-background 2s linear infinite alternate both;
}


@-webkit-keyframes color-change-5x-background {
  0% {
    background: #19dcea;
  }
  25% {
    background: #b22cff;
  }
  50% {
    background: #ea2222;
  }
  75% {
    background: #f5be10;
  }
  100% {
    background: #3bd80d;
  }
}
@keyframes color-change-5x-background {
  0% {
    background: #19dcea;
  }
  25% {
    background: #b22cff;
  }
  50% {
    background: #ea2222;
  }
  75% {
    background: #f5be10;
  }
  100% {
    background: #3bd80d;
  }
}
I added custom font from Google fonts by creating a new text file called header.html and adding this to the file:
<link href="https://fonts.googleapis.com/css2?family=Roboto:wght@900&display=swap" rel="stylesheet">This is the Rmarkdown file I used to produce the slides below:
---
output:
  revealjs::revealjs_presentation:
    transition: default
    self_contained: false
    reveal_plugins: notes
    css: styles.css
    in_header: header.html
    center: true
    mathjax: NULL
---

# {#title data-background=#262626}

<h1 style="color: #fff">Caitlin's Presentation</h1>

# Rainbow background! {.color-change-5x-background}
As you can see, there’s a ton of cool stuff you can do with revealjs! Check out the official documentation for more information, and check out this guide for more info on Rmarkdown.
Congrats on making awesome slides in revealjs! 😎 Feel free to comment below with any comments/questions!